GoodBarber's Online Help
iOS - Internal distribution (In House)
The App Store is meant to publish apps for the general public.
If you are building an app for the employees of a specific company, the App Store is not the right place for it.
Apple won't accept the app on the store.
To distribute this app to a targeted group of users, you have to do it internally, meaning outside of Apple's App Store.
Apple provides 3 ways of distributing the app outside their general store:
- Unlisted distribution : Release your apps that aren’t suited for public distribution as unlisted on the App Store, discoverable only with a direct link. Apps for partner sales tools, employee resources, or research studies are examples of good candidates for unlisted distribution.
- Custom Apps : Distribute your app privately while using App Store Connect and Apple Business Manager.
With Apple Business Manager and Apple School Manager, you can privately and securely distribute to specific partners, clients, and franchisees. You can also distribute proprietary apps to your internal employees.
- In House distribution: Distribute the app out of the app store, but with strict eligibility requirements via an Apple Developer Enterprise Program.
In this online help, we will show you how to distribute your app via an Apple Developer Enterprise Program.
Eligibility
The Apple Developer Enterprise Program is only for the internal use and distribution of proprietary apps in specific use cases that are not adequately addressed with public apps on the App Store and custom apps.
One of them is to have 100 or more employees.
1. Check Apple eligibility requirements *
*If you do not meet Apple's requirements to subscribe to a Developer Enterprise Program, follow the process "Custom app " or "Unlisted app " to distribute your iOS app privately.
Subscription to the Apple Developer Enterprise Program
The Apple Developer Enterprise Program costs $299 per year.
Warning: After your subscription to the Apple Developer Enterprise Program, you have to wait 14 days before you can create the mobile provision certificates and compile your app.
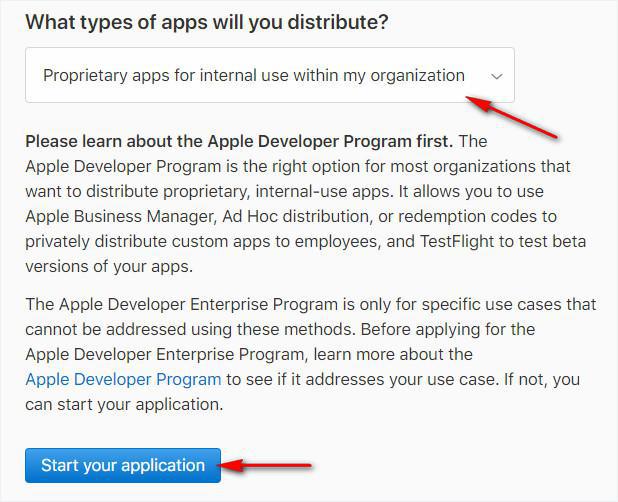
1. Go to the Apple Developer Enterprise Program page
2. Scroll down to the bottom of the page
3. Select "Proprietary apps for internal use within my organization" from the drop-down menu
4. Click "Start your application"
5. Follow Apple's process
Build your iOS app
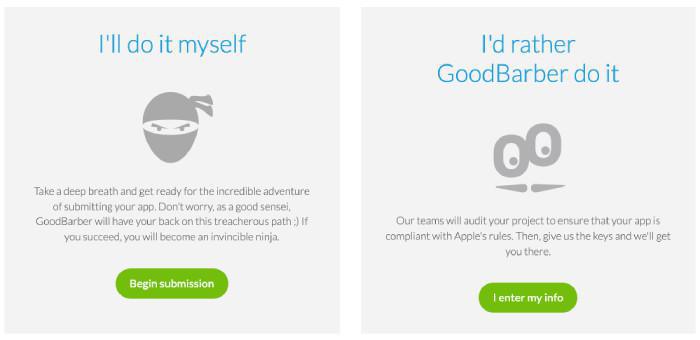
You have the option to do this process yourself (Solo) or have GoodBarber to do it for you by choosing the GB Takes Care service.
1. Go to Publish > IOS > Publish
2. Select if you wish to manage the full process yourself, or if you'd rather GoodBarber to takes care of it for you
3. Follow onscreen instructions
Once the compilation (generation of your app file) process completed, you'll get the production file that you will distribute on your internal network.
Compilation of the app
If you chose to let GoodBarber do it for you, follow the steps in the backend unit. You are required to fill a form and then let the team take over the process. You will be warned in the support when your app is ready to be tested.
In case you decide to do it Solo, the steps in the backend will guide you through the process.
Here is a quick overview of what to do at each step of the process:
Step 1: Developer Account
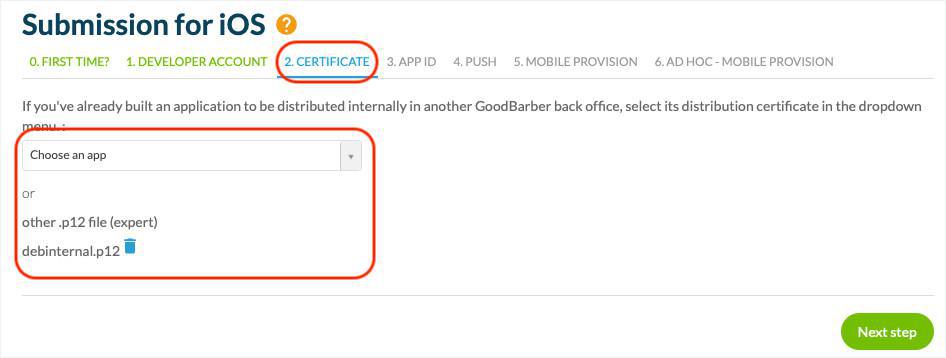
Choose whether you will create a new Distribution Certificate or use an existing one/a p12 file.
- The distribution certificate used for In-House (internal) distribution is called the In-house certificate and is valid for 3 years.
- An Apple Developer Enterprise account allows you to create a maximum of 2 in-house certificates.
You can select a certificate from the dropdown list in the backend if all the following requirements are met:
- You have already compiled another app with GoodBarber
- You are using the same account ID for the other app and this one
- Both apps will be compiled using the same Apple Developer Enterprise account
- The existing distribution certificate is still valid in the Apple Developer Enterprise account (it has not been revoked)
A dropdown menu will show you existing distribution certificates used in your other apps.
If you're an expert, you can also import a .p12 file. The password associated with this .p12 file must be "duoapps".
Warning: If you upload or select a certificate that was not created with an Apple Developer Enterprise account, the system won't allow you to continue the process.
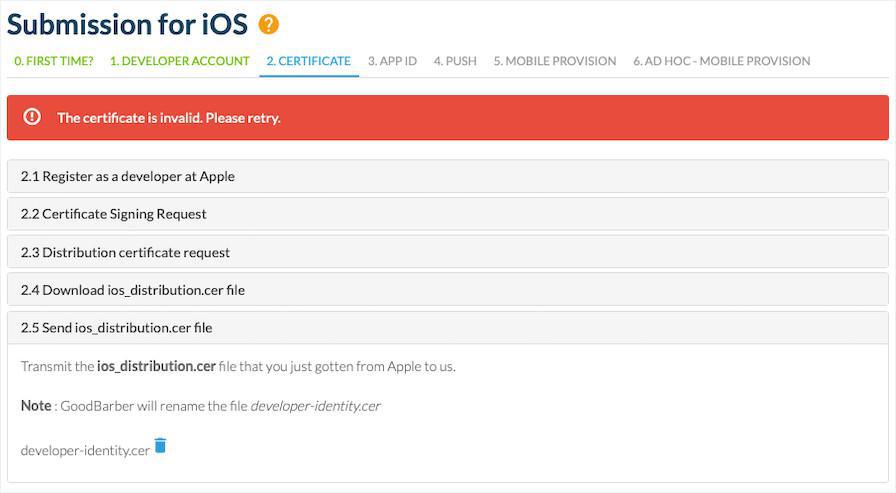
Step 2: Distribution Certificate
If you selected the option to create a new certificate, follow the instructions given in the backend to create and upload it.
If you chose to use an existing one, you can move on to step 3.
Step 3: App ID
If the app is new (meaning there is no preexisting version of this app), create an App ID as shown in the backend.
If this app will be updating an application that has already been internally distributed, you must provide some information about the existing application:
- The Bundle ID used for the existing application.
- The last Version Number of the existing application.
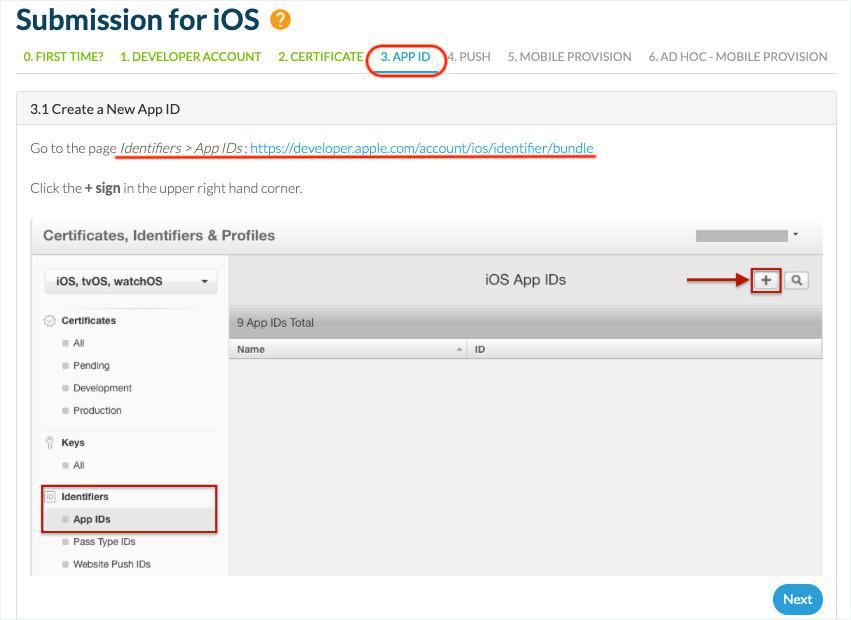
Step 4: Push Certificate
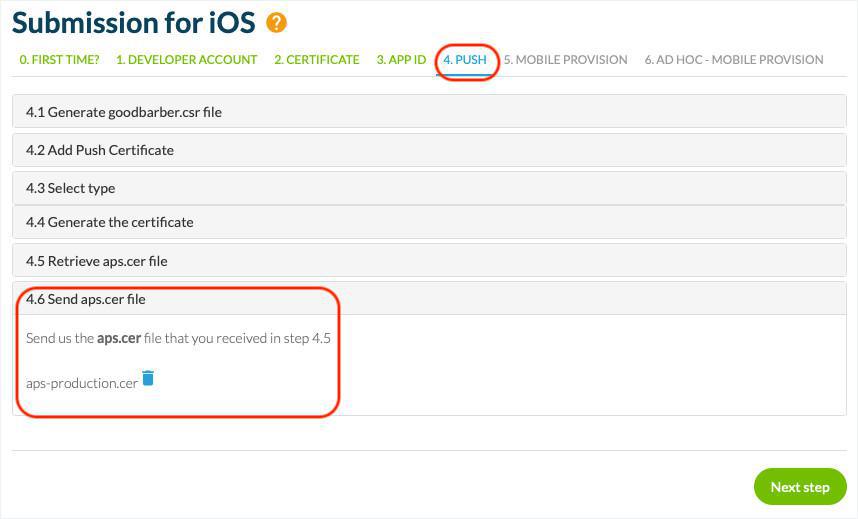
Follow the instructions to associate a push certificate to your existing App ID and upload it in the backend.
Warning: Be very careful! If you choose the wrong App ID to create your push certificate in the Apple Developer account, the push notifications won’t work in your app!
Step 5: Mobile Provision In House
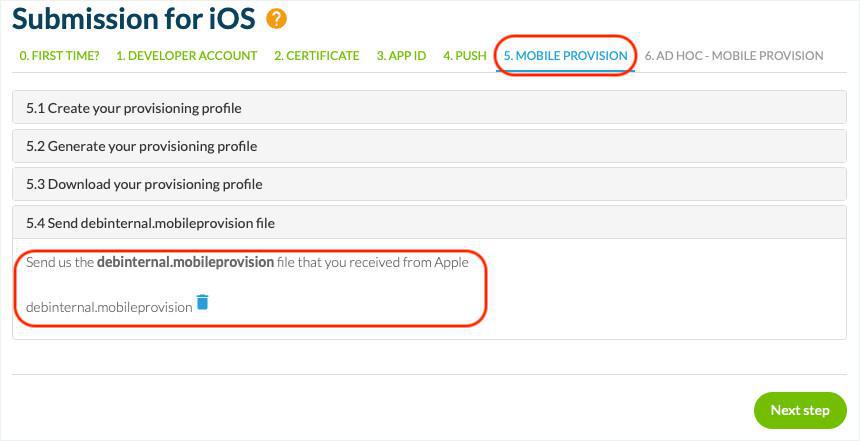
Reminder: You will have to wait 15 days after creating your Apple Developer Enterprise account before you can create the In House mobile provision file.
To create it, select the Distribution Certificate that was used at step1 and the App ID used at step3.
Warning: The system will detect if the App ID is different from the Bundle ID you provided for the verification. Be very careful at this step. If you select the wrong App ID to generate your Mobile Provision, you won't be able to continue the process.
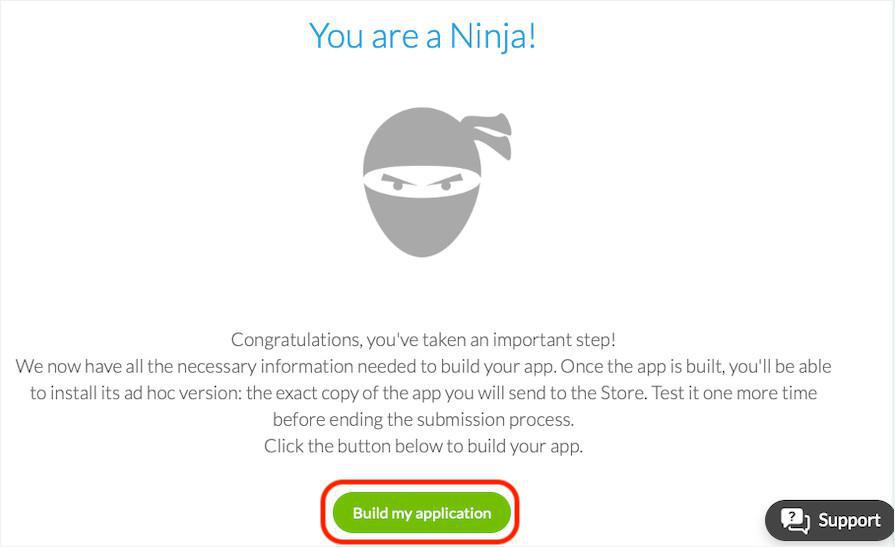
After you're done with the 5 steps, click on Build my app and wait until the app is compiled.
Distribute your app
If you chose the GoodBarber takes care service, GoodBarber will send you the production .ipa file and you will be free to distribute the app where you want.
GoodBarber cannot not take care of the internal distribution for you.
There are some dedicated services such as Appaloosa (https://www.appaloosa-store.com/), that allows you to distribute in-house apps on a private store.
Host the app's binary (the .ipa file) on a server.
Prerequisite: Make sure that the .ipa file is hosted on a secure server (the URL must contain https://). Otherwise, it won't be possible to install your app on your users' devices.
Create a manifest associated with this binary file.
You must manually build this file (see the example below). You can create the manifest in any text editor. When saving it, give it the .plist extension.
<!DOCTYPE plist PUBLIC "-//Apple//DTD PLIST 1.0//EN" "http://www.apple.com/DTDs/PropertyList-1.0.dtd ">
<plist version="1.0">
<dict>
<key>items</key>
<array>
<dict>
<key>assets</key>
<array>
<dict>
<key>kind</key>
<string>software-package</string>
<key>url</key>
<string>[https link to the IPA file]</string>
</dict>
</array>
<key>metadata</key>
<dict>
<key>bundle-identifier</key>
<string>[Bundle ID]</string>
<key>bundle-version</key>
<string>1.0</string>
<key>kind</key>
<string>software</string>
<key>title</key>
<string>[App Name]</string>
</dict>
</dict>
</array>
</dict>
</plist>
[Https link to the IPA file]: Your .ipa file's URL after it's been hosted on a secure server
[Bundle ID]: Your app's ID available on this page : Publish > Certificates > iOS
[App name]: The name of your app
Create a web page with a link to the manifest.
After you've left the .plist file on a secure server, you can then create a web page where you'll put a link to download your app, like in the example below:
Don't forget to replace "URL_OF_THE_PLIST_FILE" with your .plist file's URL.
You can also replace the text "Download our application" with another personalized message.
Your app can be downloaded from the link created on your web page opened on an iOS device. Please note that the users may have to accept the developer in the Settings > General > Profiles and Devices (or "Device Management") menu of their phone before being able to install it.
- iOS - Create your Apple Developer account (Mandatory)
- iOS - Compile your native iOS app
- iOS - Publish your app in App Store Connect
- iOS - Update your app in App Store Connect
- iOS - Update the iOS certificates
- iOS - Replace a published app with your new GoodBarber app
- iOS - Get the bundle ID and version number of the existing iOS app
- iOS - Distribute your app privately as a Custom App
- iOS - Unlisted distribution of your app
- iOS - Publication timeframe
 Design