 Design
How to create an app to manage your appointment bookings?
Written by Muriel Santoni on
If you manage a service company, you probably know how tedious managing customer appointments can be: you have to answer the phone, agree on a date with the customer, and put it on your calendar, all the while being careful not to make any mistakes... In short, it is a time-consuming and sensitive task because mistakes in scheduling appointments can considerably impact your organization and create friction among your customers.
As you can see, the solution that allows you to gain time and reliability is to create an app to manage your appointment scheduling.
Offering an online appointment booking service via an app has huge advantages for your customers, and consequently allows you to stand out from the competition.
With an app, your customers can book appointments 24/7. No need to wait for your opening hours, they can choose their slot at any time of the day or night. They also gain autonomy and you gain time: your calendar and your available slots are displayed, so your customers can choose the one that suits them best without having to discuss it with anyone. Everyone wins: your clients have immediate access to the information they are interested in and can choose their slot quietly and without pressure. On your side, you drastically reduce the number of phone calls you will receive and therefore interruptions in your working day.
The ability to book appointments online has become a major argument for many consumers to choose their service providers. It is a feature that will give your business a modern image and will definitely help you in its development.
You see, having an app to manage your appointments is crucial. So, let's see how to do it! In this article you will find the main steps to design an app to manage appointment scheduling, illustrated by two examples of apps you can use to create your own app.
If you have never created an app before, don't hesitate to take a look at our article on how to create an app or at our blog, which is full of advice on how to make your project a success.
- Create a clear design that reflects your image
- Present your services and rates
- Manage one or more calendars
- Collect valuable feedback
- Accessible appointments
If you have never created an app before, don't hesitate to take a look at our article on how to create an app or at our blog, which is full of advice on how to make your project a success.
1. Create a clear design that reflects your image
Working on the design and structure of your app is the first step. This is the time to create an app that reflects your image, with clear and well-arranged content. Even if this step may seem trivial to you, trust us, it is crucial.
First, think about the colors of your app. If you already have a solid visual identity, this step will be quick, you just have to use the colors of your logo for example. Otherwise, there can be many inspirations: depending on your sector of activity (the medical sector is often represented by cold colors, for example, the mechanical sector rather by primary colors...), in relation to your values (organic colors for example if your values are about nature or ecology), or even in relation with the decoration of your establishment. There is no real rule, the main thing is to choose a harmonious color palette, consistent and recognizable by your customers.
In your GoodBarber back office, you can choose a theme among those created by our team of designers as a starting point. Once you have chosen your theme, you can modify all the details: colors, typography, icons, and effects... Of course, don't forget to add your logo to your app!
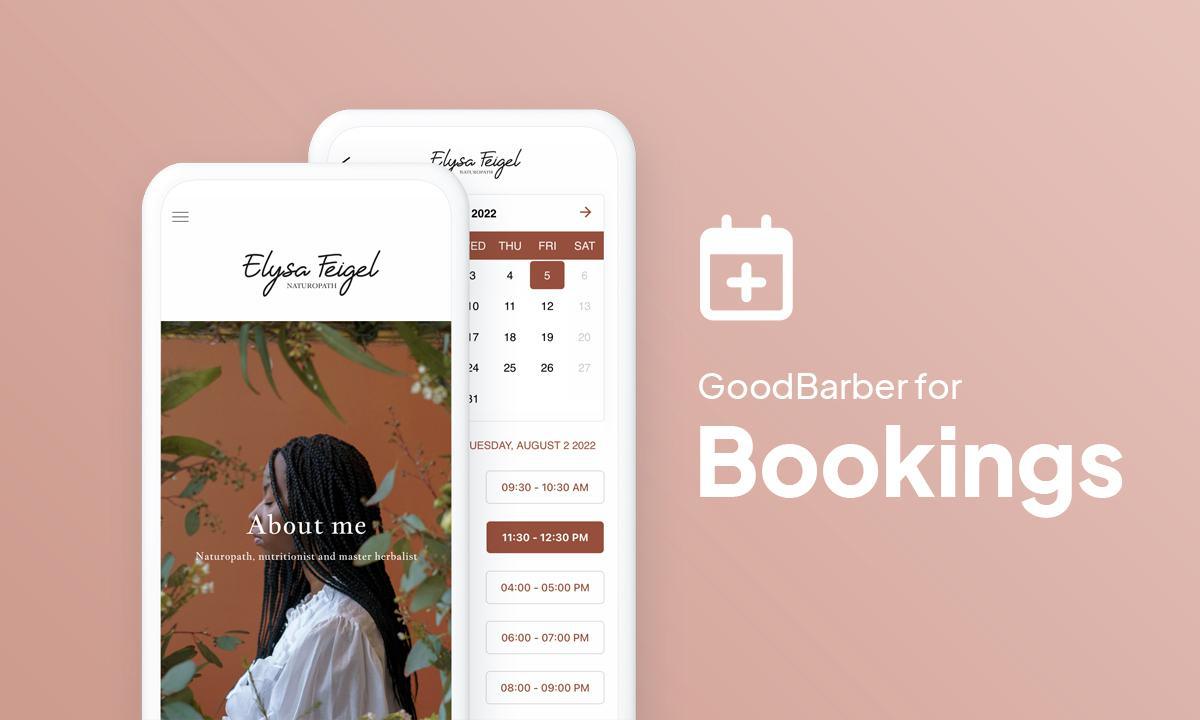
To give you an example, let's take a closer look at the Elysa Feigel app. It is the app of a naturopath who offers online appointment booking. The objective was to create a serene, soothing, and nature-oriented image. So we chose natural colors like sage green or terra cotta.
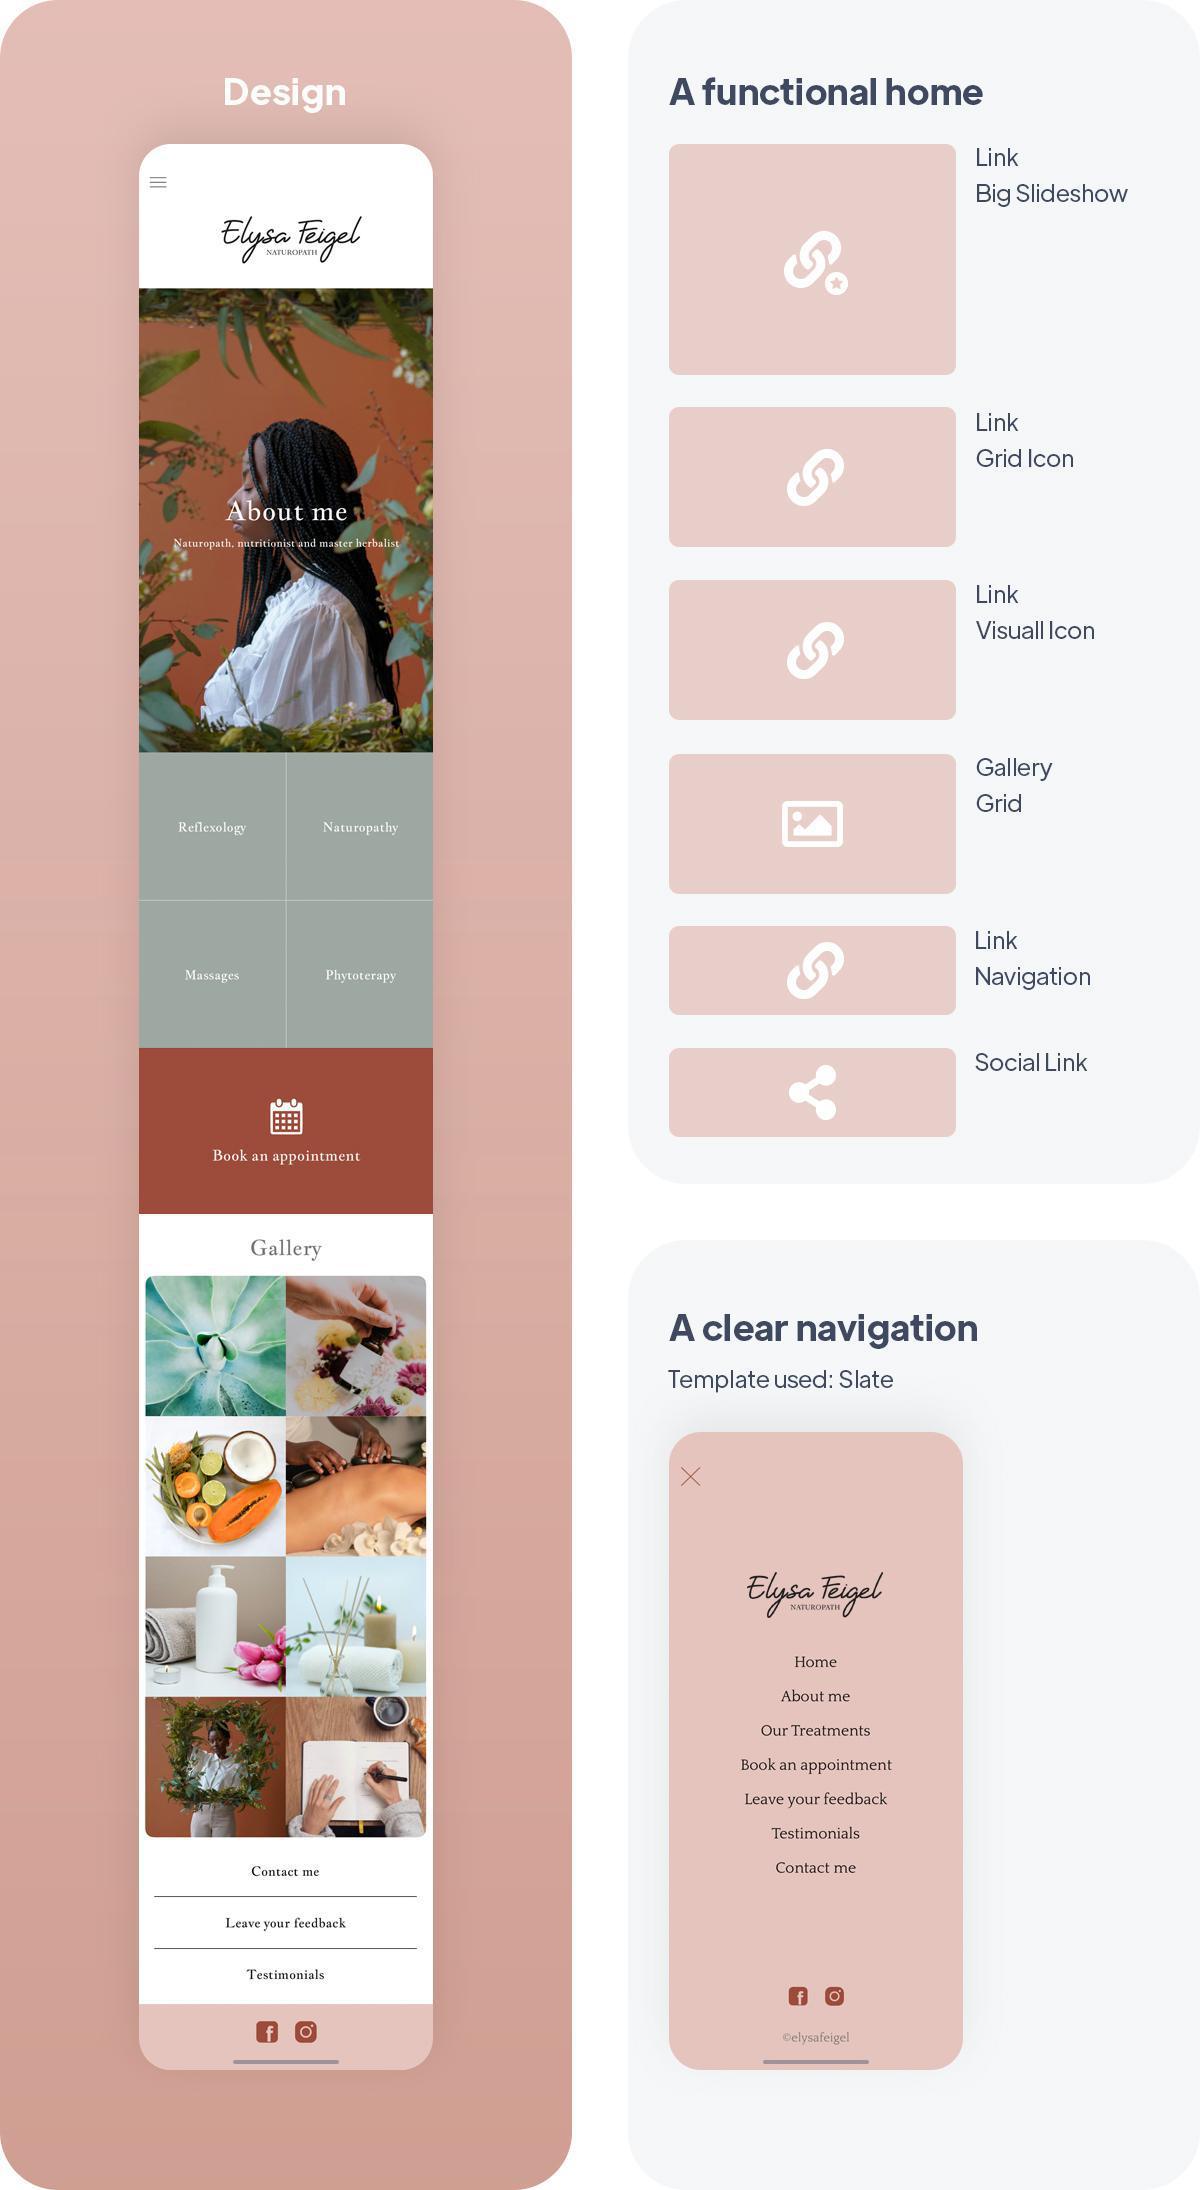
After choosing your design, it's time to tackle the structure of your app. The objective is mainly to present the services and to offer online appointment booking. For Elysa Feigel, we have purposely kept the content of the app as simple as possible. The homepage of the app has few widgets but is very clear. First of all, and to put the customer in the mood right away, a Link widget with a very visual Slideshow template that links to an About section, in which the naturopath presents her background and values.
Just below, is another Link widget that links to Articles sections that present the catalog of services offered by Elysa Feigel.
Once the provider and the services have been presented, of course, a new Link widget, in full screen, links to the famous Appointment Booking section. The widget is clear, without frills to encourage the passage to action.
Then there is a Gallery widget, which allows customers to better project themselves in the company's universe, and a Links widget that links to the Contact, Submission (to allow customers to easily post a review), and Articles (which lists customer reviews) sections. Finally, there is a Social Links widget with links to the naturopath's Facebook and Instagram pages.
In addition to the Home, we chose to add a Slate navigation mode. It perfectly meets the needs of this app: the display is clear and recognizable thanks to the menu background in solid color, and the logo is well highlighted. Moreover, this type of menu is particularly suitable for apps that have more than 6 sections or links. We added again links to social networks in the footer of the menu.
First, think about the colors of your app. If you already have a solid visual identity, this step will be quick, you just have to use the colors of your logo for example. Otherwise, there can be many inspirations: depending on your sector of activity (the medical sector is often represented by cold colors, for example, the mechanical sector rather by primary colors...), in relation to your values (organic colors for example if your values are about nature or ecology), or even in relation with the decoration of your establishment. There is no real rule, the main thing is to choose a harmonious color palette, consistent and recognizable by your customers.
In your GoodBarber back office, you can choose a theme among those created by our team of designers as a starting point. Once you have chosen your theme, you can modify all the details: colors, typography, icons, and effects... Of course, don't forget to add your logo to your app!
To give you an example, let's take a closer look at the Elysa Feigel app. It is the app of a naturopath who offers online appointment booking. The objective was to create a serene, soothing, and nature-oriented image. So we chose natural colors like sage green or terra cotta.
After choosing your design, it's time to tackle the structure of your app. The objective is mainly to present the services and to offer online appointment booking. For Elysa Feigel, we have purposely kept the content of the app as simple as possible. The homepage of the app has few widgets but is very clear. First of all, and to put the customer in the mood right away, a Link widget with a very visual Slideshow template that links to an About section, in which the naturopath presents her background and values.
Just below, is another Link widget that links to Articles sections that present the catalog of services offered by Elysa Feigel.
Once the provider and the services have been presented, of course, a new Link widget, in full screen, links to the famous Appointment Booking section. The widget is clear, without frills to encourage the passage to action.
Then there is a Gallery widget, which allows customers to better project themselves in the company's universe, and a Links widget that links to the Contact, Submission (to allow customers to easily post a review), and Articles (which lists customer reviews) sections. Finally, there is a Social Links widget with links to the naturopath's Facebook and Instagram pages.
In addition to the Home, we chose to add a Slate navigation mode. It perfectly meets the needs of this app: the display is clear and recognizable thanks to the menu background in solid color, and the logo is well highlighted. Moreover, this type of menu is particularly suitable for apps that have more than 6 sections or links. We added again links to social networks in the footer of the menu.
2. Present your services and rates
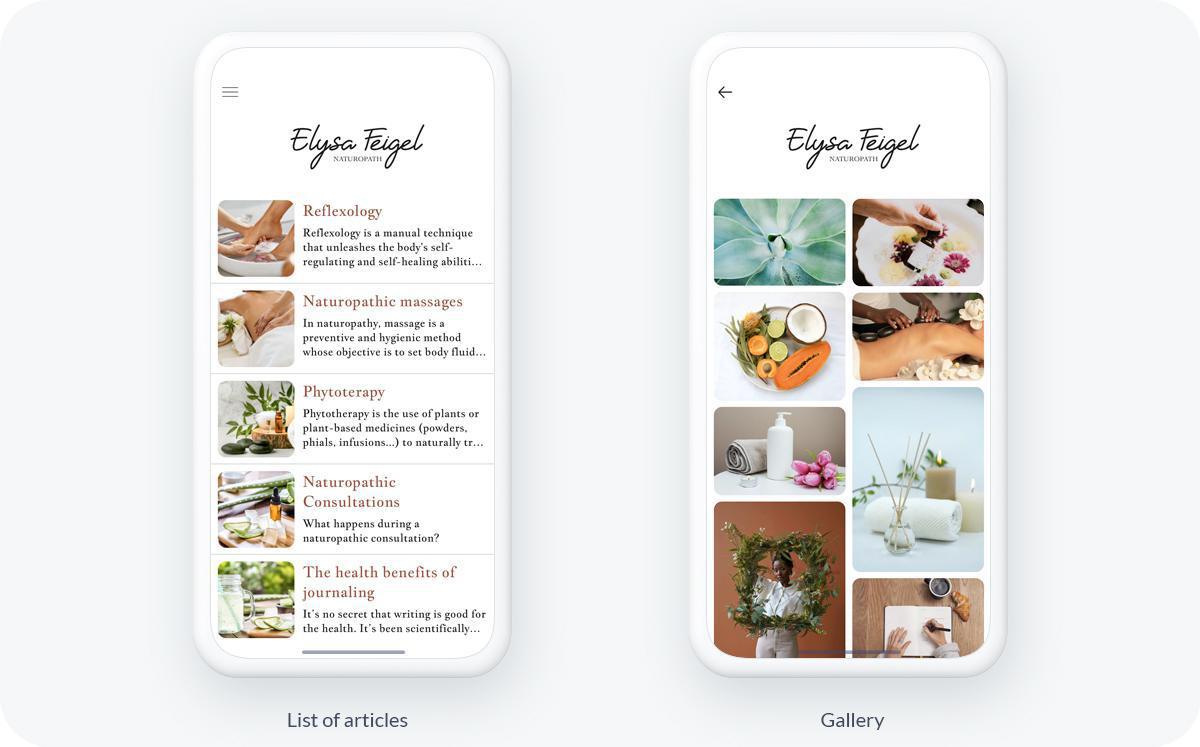
Since you offer online appointment booking, you obviously need to present your services to show the extent of your catalog and guide your customers in their choices. You can use several types of sections depending on the look of your service catalog: Articles, Gallery, About section, and also Menu sections or categories if you offer different types of services. It's up to you!
In Elysa Feigel's app, we used an Articles section with one article per type of service and a Gallery section, simply.
In Elysa Feigel's app, we used an Articles section with one article per type of service and a Gallery section, simply.
3. Manage one or more calendars

In order to make your booking service a real plus for you and your customers, your calendar has to suit you completely. In your back office, you can set your calendar in the smallest details: opening hours, exceptional closing, duration of each slot... You can set all these options in order to take advantage of a powerful tool tailored to you and your business.
If you are several service providers within the same structure or if you offer types of services that require their own calendar, you can add and manage as many calendars as you want. In Cosmic Tattoo for example, which is the app of a Tattoo Shop, there is a calendar for each tattoo artist. Each calendar is linked to a different Google Calendar which allows Sam and Maya to manage their own clientele and their own schedule. On the client side, they can choose who they make appointments with, all from the same app.
If you are several service providers within the same structure or if you offer types of services that require their own calendar, you can add and manage as many calendars as you want. In Cosmic Tattoo for example, which is the app of a Tattoo Shop, there is a calendar for each tattoo artist. Each calendar is linked to a different Google Calendar which allows Sam and Maya to manage their own clientele and their own schedule. On the client side, they can choose who they make appointments with, all from the same app.
4. Collect valuable feedback
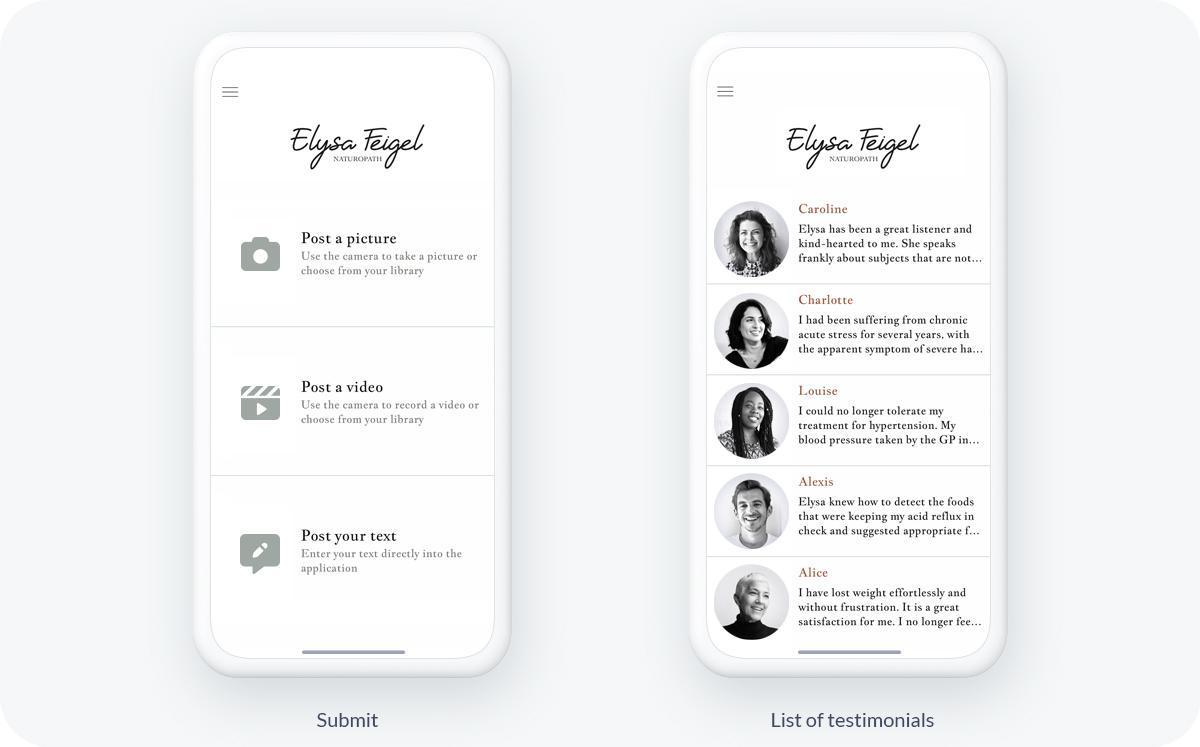
Satisfied customers are the best ambassadors you can ask for. The experience of others counts a lot when choosing a service provider so don't hesitate to collect testimonials from your customers and share them in your app! We use the Submission section which will allow your customers to send you images, videos, or text with one click. You can then easily republish this content in your app to give access to your future customers.
This is exactly what we did in the Elysa Feigel app. Customers send in their reviews with a photo via the submission section. These collected reviews are then republished in a neatly arranged Articles section.
This is exactly what we did in the Elysa Feigel app. Customers send in their reviews with a photo via the submission section. These collected reviews are then republished in a neatly arranged Articles section.
5. Accessible appointments
Your app can be a great way to maintain a connection with your customers. You can make it easy for them to get in touch with you, find you around town, and also communicate with them effectively. GoodBarber's Extension Store allows you to integrate many features into your app that will allow you to stay close to your customers.
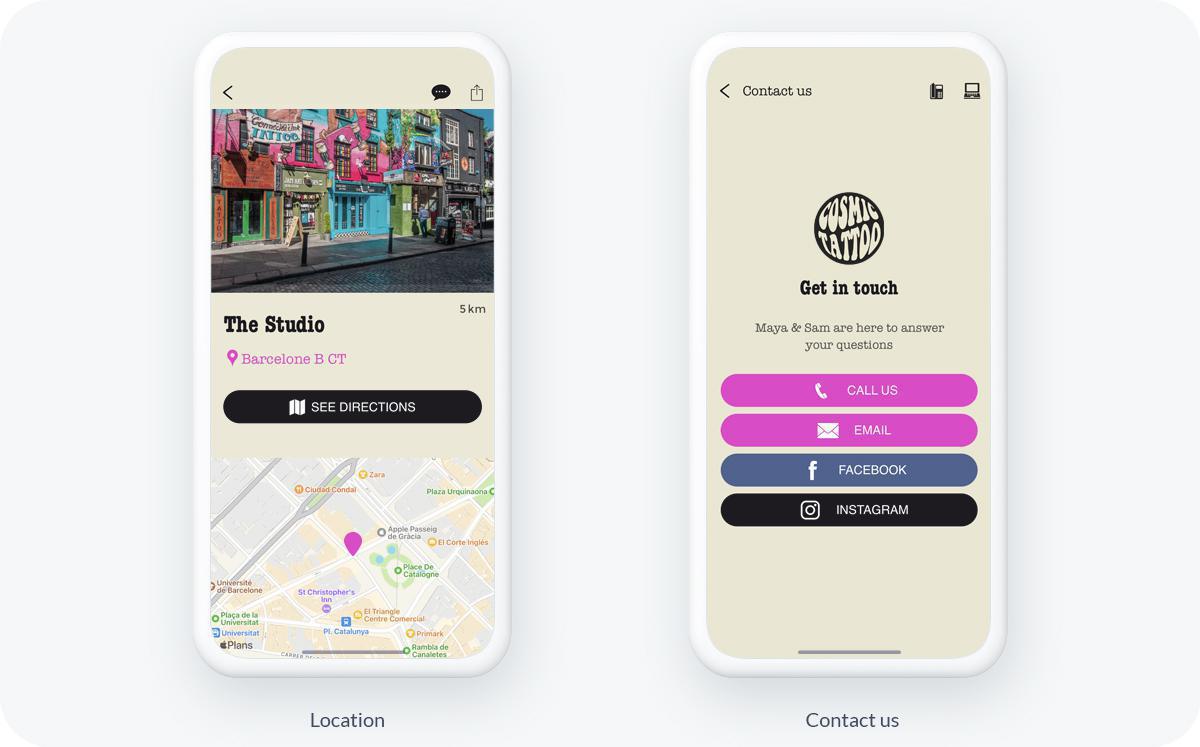
- The Map section allows you to place your establishment(s) on a map. Your customers will be able to see a route to reach you without any constraints. You can choose the icons that will appear in this section, and even integrate your own custom icons. For each point, you can also add content like text or images.
- You can also add a Contact section, to refer the user to your social links or contact information. With one click your customers have access to all your communication channels and can choose the one that suits them best.
- Push notifications, allow you to inform your users automatically according to the events occurring in your app. Manual or scheduled, push notifications allow you to reach your customers directly to inform them of your latest news.