 Design
How to set up a form in your app
Written by GoodBarber Team on
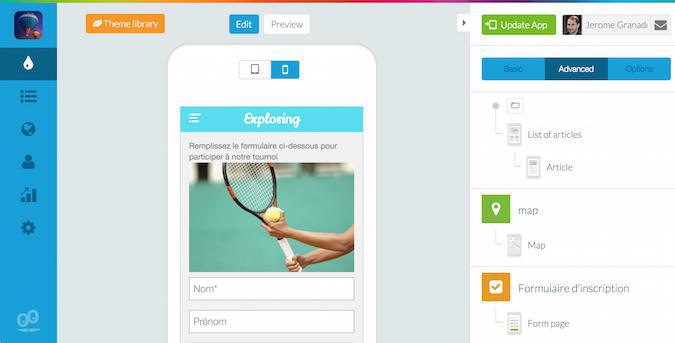
The Form section is a great interaction tool to add to your app.
As its name indicates, this section enables you to add one or more forms into your app. The form section was designed to allow you to create all types of forms that could be needed in an app, for example: registrations, questionnaires, reservations, etc.
In this article, I will explain how to set up a form in your app.
1- Add a form section
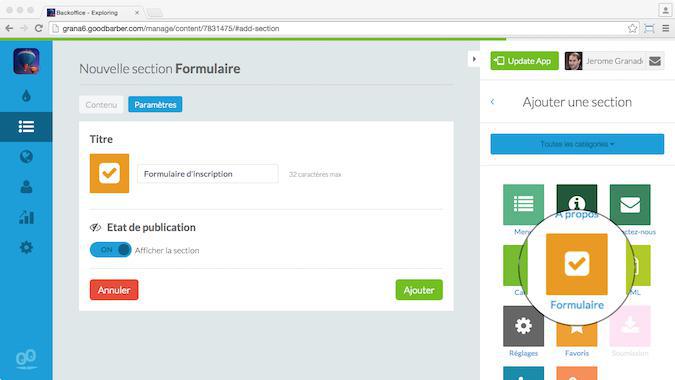
The first thing to do is to add a form section to your app and to give it a name.
- Content apps: on the right side menu, simply click on add a section then on Form.
- eCommerce apps: in the left side menu, go to the Extensions Store and add the "Contact Form" extension
2- Add fields to the form
Once this section has been added, you can begin creating your form. It's done the same way for both Content and eCommerce apps.
Creating a form is not much different from creating an article. If you need to give your user some background context, you have the option to add descriptive paragraphs, photos, videos, links, etc. at any point in the form.
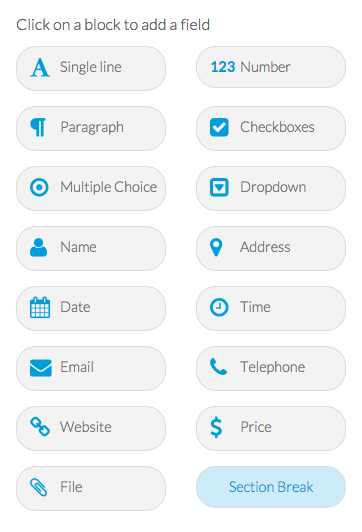
However, different from an article, a form contains fields in which the user will enter information.
The image above shows all of the fields that are available to add in your form.
Creating a form is not much different from creating an article. If you need to give your user some background context, you have the option to add descriptive paragraphs, photos, videos, links, etc. at any point in the form.
However, different from an article, a form contains fields in which the user will enter information.
The image above shows all of the fields that are available to add in your form.
In the right panel, click on a field to add it to your form. Then, enter the necessary information for it to function, and choose the options that you would like.
In general, for a field to function, you must give it:
-a field name
-user instructions (optional)
-your selection regarding the options for each field (whether you want it to be mandatory, randomly ordered, etc.)
In general, for a field to function, you must give it:
-a field name
-user instructions (optional)
-your selection regarding the options for each field (whether you want it to be mandatory, randomly ordered, etc.)
3- Refine the design and publish the form
Once the content of the form is ready, you can set up your design. The actions required to set up your design are identical to those required for other sections of your app.
Use the preview to check the results and publish the form if everything looks good to you.
Use the preview to check the results and publish the form if everything looks good to you.
4- Run the results
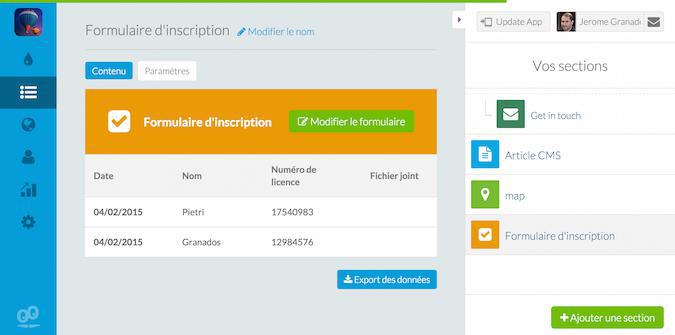
Once your form is available in your app, your users will be able to use it.
Each time someone submits a form, you will receive a notification email.
To view the responses, go to the Content tab in the form section. A table summarizing all of the responses will appear. Click on a row in the table to see the response details. You can also export the results in a .cvs format in a file.
Your turn
Now you know, broadly speaking, the functionalities of the form section. It is a very versatile section; let us know in the comments what you will do with it!