GoodBarber's Online Help
Menu Section (extra navigation level)
Add a Menu section
This section allows you to create multiple navigation levels in the application.
1 - Open the left swipe menu, click on Design & Structure > Structure > Sections
2 - Click on “ + Add a section”
3 - Click on “Load more”
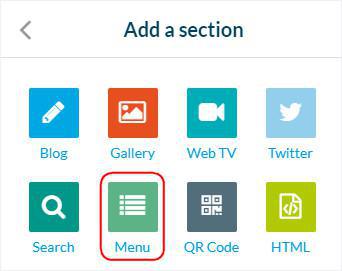
4 - Add a Menu section by clicking on “Menu”
5 - Add a title to your new section
Add sections under your Menu section
To add sections under the Menu:
1. Go to the menu Design & Structure > Structure > Sections
- Drag and drop existing sections from the right column of your back office under your menu section
or
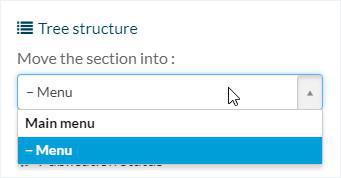
- Open the settings of the section, and use the drop down menu.
For new section, choose from the drop down menu at the creation of the section.
A new navigation level will be added to your app.
Take note that it's possible to add a second Menu section under the first one, in order to create another navigation level.
It is possible to add up to 4 levels of navigation.
Design the Menu section
1. Go to the left hand menu Design & Structure > Design > Sections Design
2. Select your menu section to access its design settings.
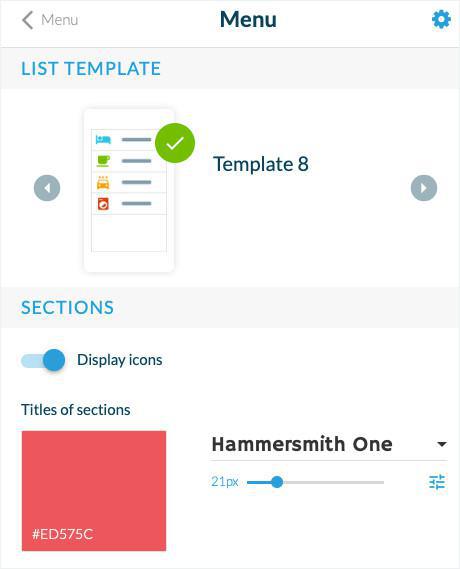
You'll be able to choose a template for your menu, background images, effect, fonts, colors, icons etc.
Settings of your Menu section
To access the Settings of your menu section
1. Go to the menu Design & Structure > Structure > Sections
2. Click the 3 dots icon next to your section.
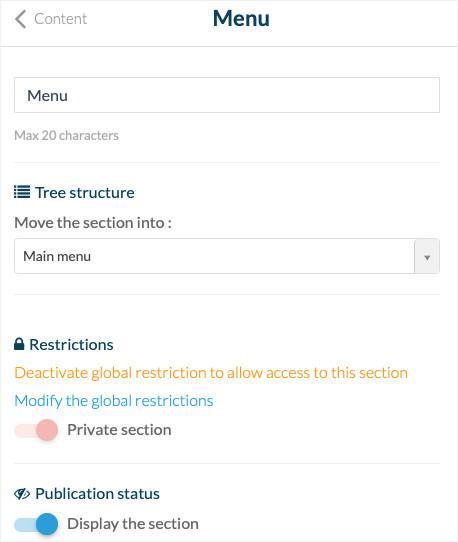
This menu allows you to edit the general settings of your section:
- Move the section in your general app's tree
- Manage the publication status of your section
- Edit it's default URL
Publish your modifications
Publish your modifications to apply them to your already published PWA and native apps (depending on your offer).
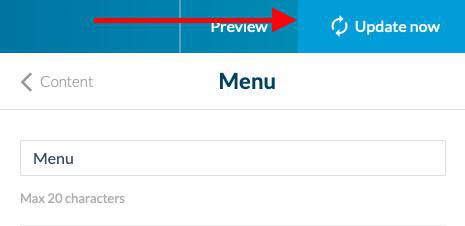
- Click the "Update now" button at the top right of your back office.
Video tutorial
Note: Menus have changed in the back office, but the behavior explained in the video is still accurate.
 Design