Design
Step by Step to Create Restaurant Apps
Written by Isabella Leland on
We have already talked about the general process on how to make an app, pointing specific requirements that ranged from concept to development. Today, we will take a closer look into what it takes to build an app for one specific industry — with restaurant apps on the menu!
Let's get started!
1. Choose a theme
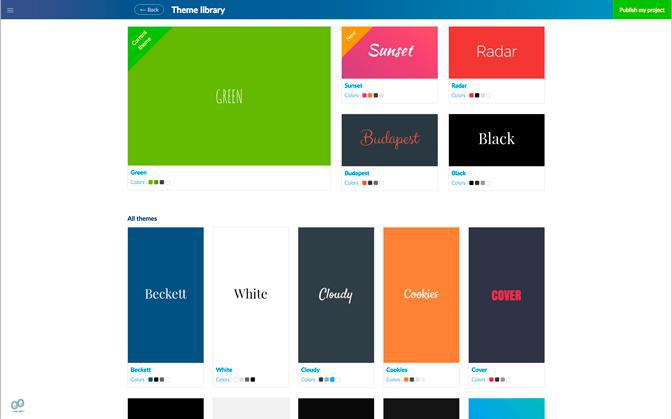
Choosing a theme is the first step to create your Beautiful App. In your back office, you will find a choice of over 25 different themes (and counting) created by our designers. The theme you choose is just a starting point, you’ll be able to customize and adjust its settings completely.
We recommend picking a style which is close enough to the color scheme or the look and feel you want for your Beautiful App. For instance, for this app, we started with the theme "Green".
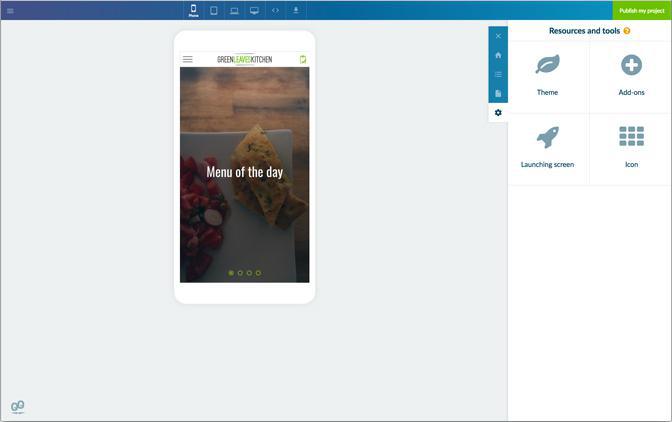
2. Build your Home
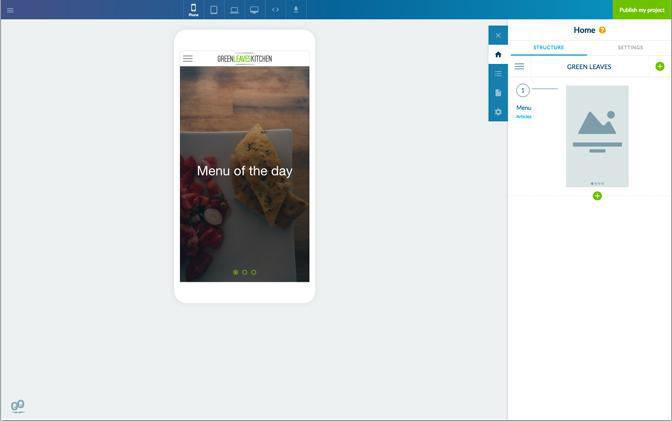
The Home is the first screen users will see when opening your app. It is therefore an important feature of your app, both visually and practically. With GoodBarber 4.0, the Home lets you choose which content to highlight upon opening the app. It also lets you display links towards the primary destinations making up your app.
The modular home introduced by GoodBarber 4.0 is made up of two different kinds of widgets, content widgets and navigation widgets (links)—a total of 66 widgets has been developed so far. Templates associated with widgets have a mobile, tablet and desktop declination.
Here you can see that we’ve added our first widget, a Content widget, to feature an mCMS articles section (our restaurant’s menu):
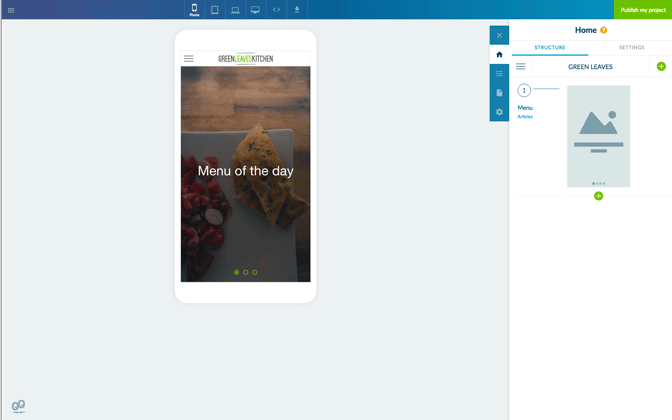
After selecting a template (Banner > Minimal), we customized the font used to display the Title as well as the number of items displayed, from 3 to 4.
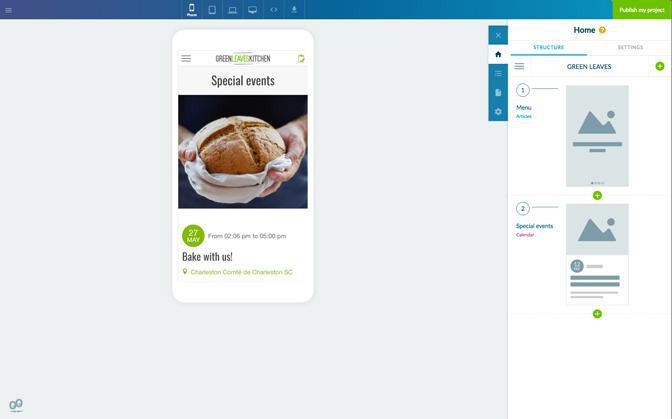
Now, let’s add another Content widget to feature our Events, and select a template for it, List > Card.

We then proceeded to add Links, the first one towards our About section:
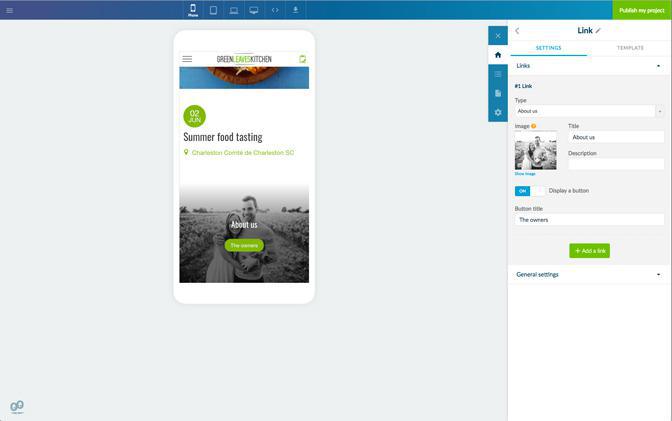
As you can see, according to your choice of template (here, Banner > SmallSlideshow) it is possible to show a button and edit several design settings (the font, the copy, etc.):
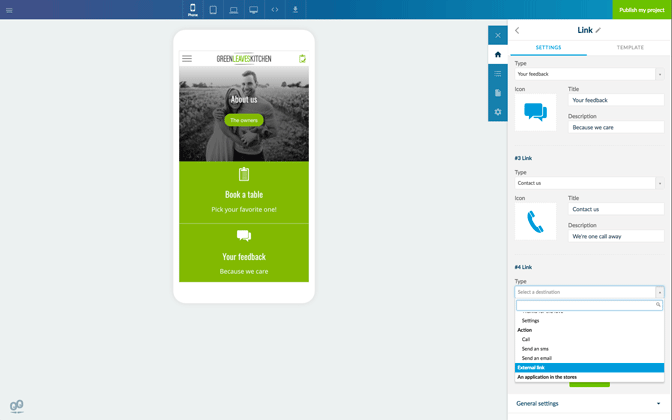
We added another Navigation widget with another set of links. We created a distinct widget in order to enable a different template, List > VisualIcon. As you can see you can feature internal links (towards sections), as well as external links (towards your Facebook page for instance):
Our Home now features a total of 4 widgets.
3. Build your Menu
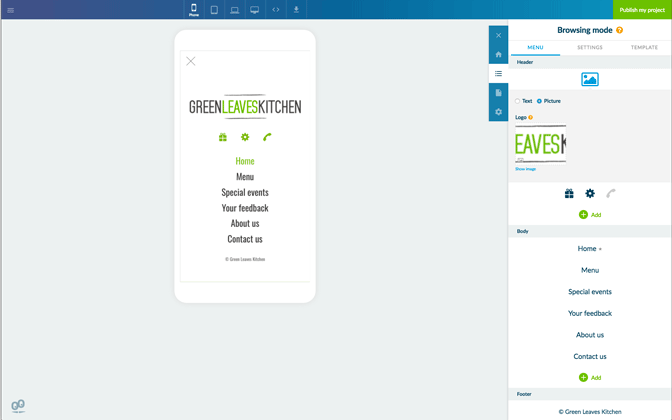
With GoodBarber 4.0, the Menu is used for secondary navigation within your app. Your Home already provides points of entry towards the sections of your choice, as well as call to actions, which is why you can even choose the option to not display a Menu at all. If you do choose to enable a Menu (or Browsing mode in your back office), you can choose between 7 different types of “menus” or browsing modes, to further distribute traffic within your app.
Building the menu can be achieved independently of the number of sections in the app for complete control over the navigation of your app. Your menu can feature links and shortcuts, to point towards destinations, and titles and separators, to prioritize information within the menu (these two serve design purposes).
Here we’ve selected the Slate template:
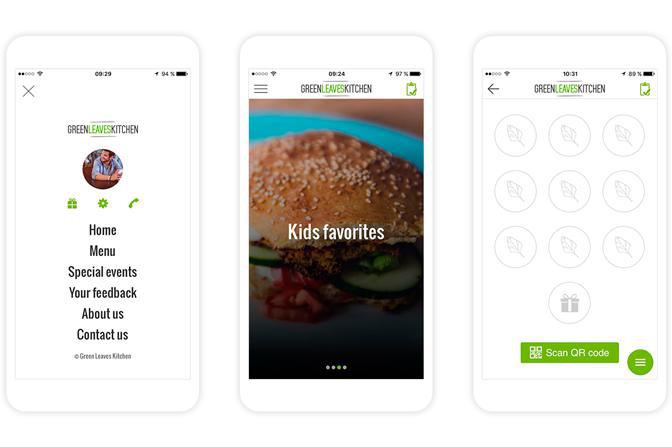
We’ve added the restaurant’s logo in the Header along with Shortcuts (Loyalty Card, Settings, Call), we’ve featured our main sections in the Body, and a Copyright in the Footer.
4. Add your Content

Up until now, using the Sample content provided in the app can be a convenient way to achieve a great design without having an empty app. But here are a few examples of how to proceed when you're ready to start adding your own content.
- Here we used an mCMS articles section to display the restaurant’s menu. We then customized the list of articles view, choosing a full screen display template (template n°8).
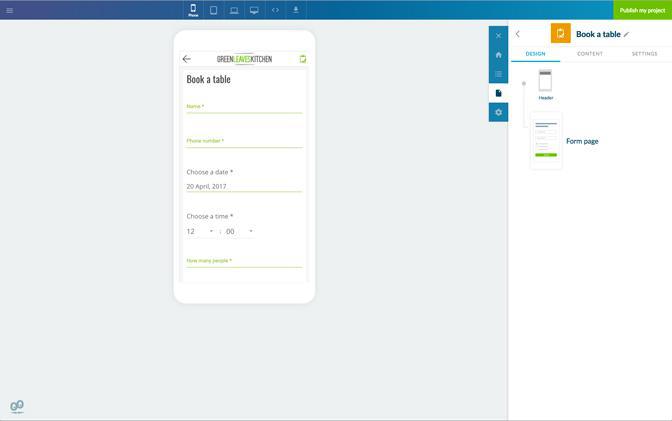
- Another key feature you might want to enable for booking purposes, the Form section. You can add fields tailored to your needs and as usual, customize the design.
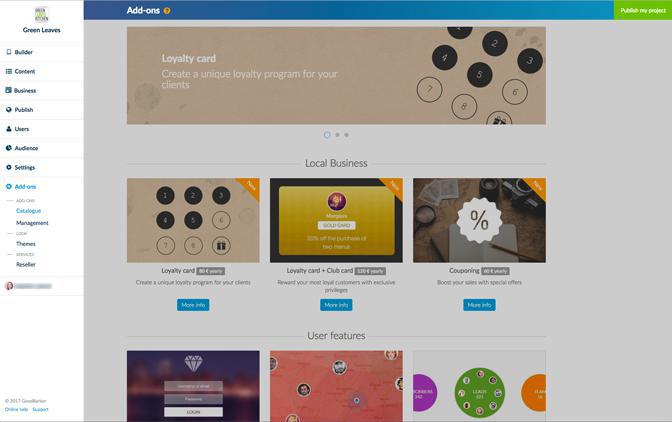
Now, for business related apps, you will find more features you can install in our Add-Ons store. This is where you can activate the Loyalty Card Add-On for instance.
Note that it is tied to the Authentication feature and is available with our Advanced plan only.
Note that it is tied to the Authentication feature and is available with our Advanced plan only.
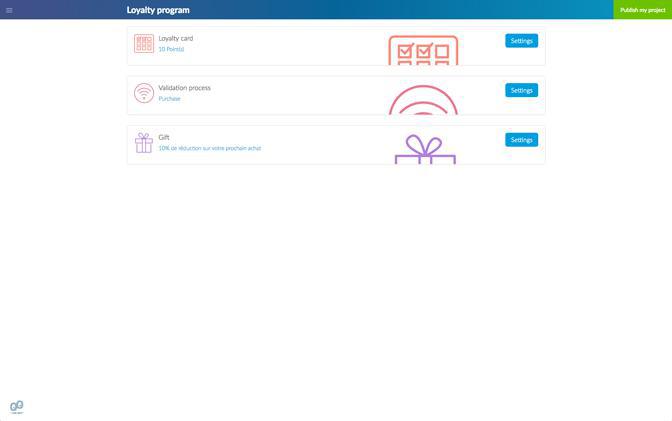
Once the Add-On is installed a new Business tab will show in your back office menu.
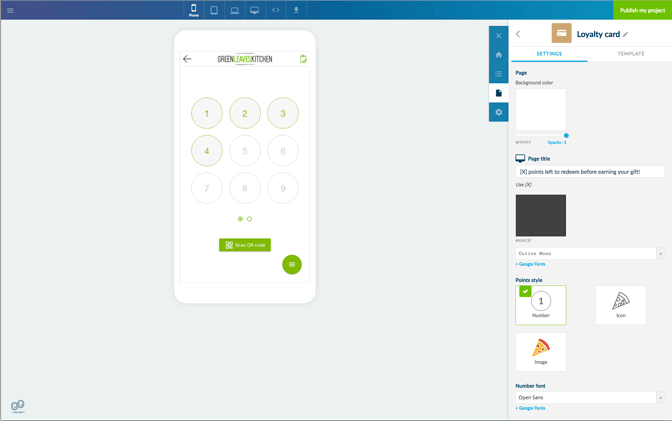
From there, you can edit the settings as well as the design of your loyalty program. From selecting a template to customizing the icons for the points, the colors and more.
Almost there! Two more elements to add before your app is ready!
5. Launch screen and app icon
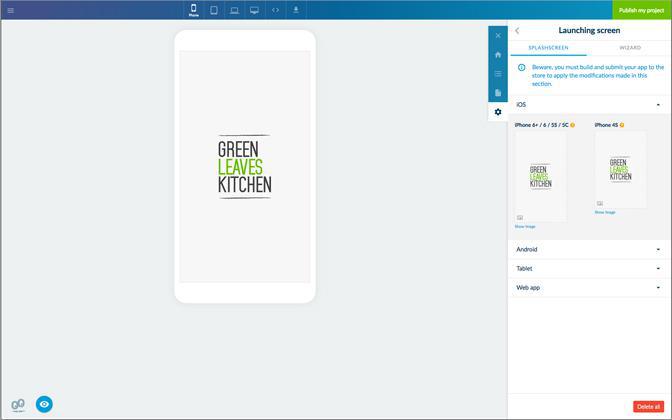
The launch screen is the first thing users will see when opening your app (before the Home). It will be displayed for a few seconds while your app’s content is loading (in a browser as well). To make a good first impression, pay attention to the specifications of the different screen sizes, to ensure optimum display.
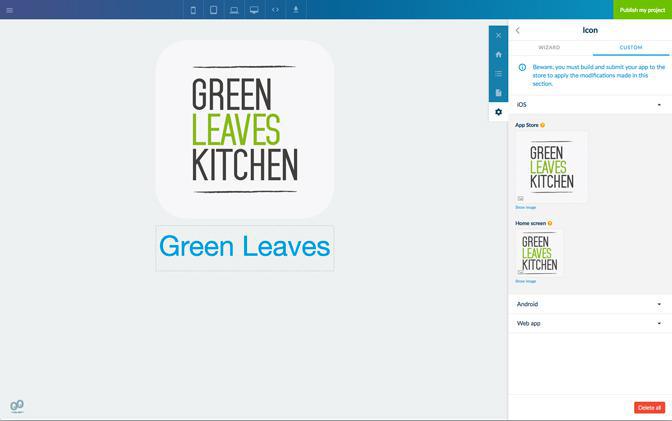
For the app icon, which will be shown on the home screen of users, you also need to comply with different dimensions, for the different operating systems and for web app specifics (such as the favicon). Creating the right app icon can be tricky as you have very little room for creativity, plus it needs to be self explanatory. For instance, you might need to tweak your logo somewhat, so that it adapts to a square format, and don't forget to enter the name of your app.
- Learn more about the many options to set up your Home with this article: the Modular home.
- Discover everything there is to know about Browsing modes, with this article: Menu and secondary navigation.