GBTC: Publish your app with easeDiscover GoodBarber Takes Care and simplify the app publication process for both the App Store and Google Play. Let us handle the technical details for you.Learn more about GBTC
GoodBarber allows you to create full customized, beautiful apps, in just a few clicks. Among the hundreds of other features, we implemented an icon coloration process, which you can use to create beautiful design effects.
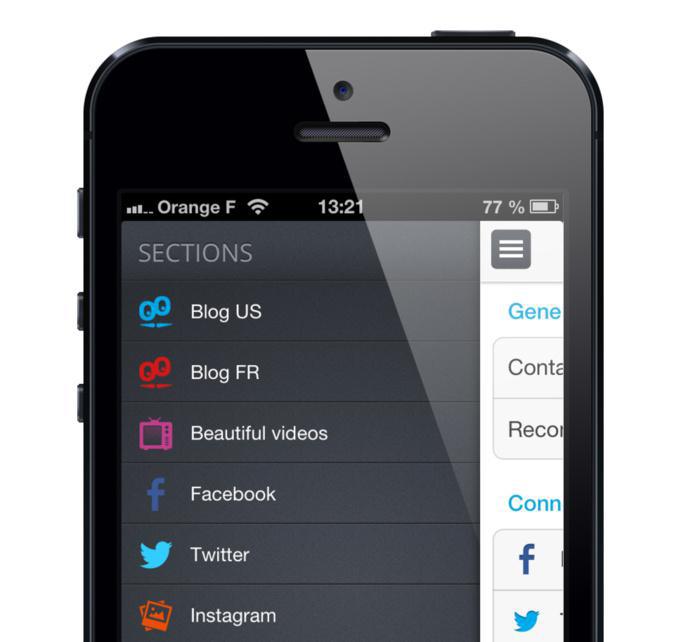
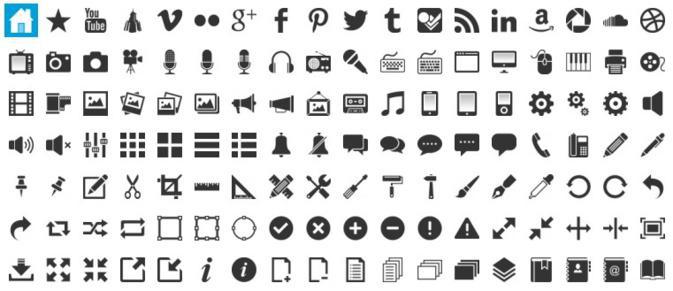
We chose to let you choose amongst a large icon set — you can even upload your own TabBar icons — and you can imagine that it was completely impossible to anticipate all the customization possibilities. So we started to think about an automated customization process for these icons, and we wanted to keep a standard-based icon set (white PNGs with alpha channel only).
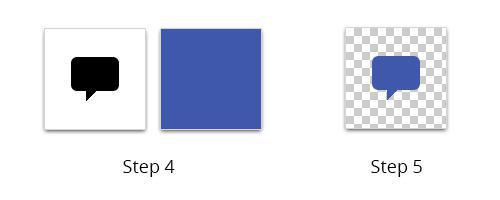
So here is what we developed to color the icons directly in the native client applications, with just a white PNG and a hexa color.
Color an image with CGImageCreateWithMask
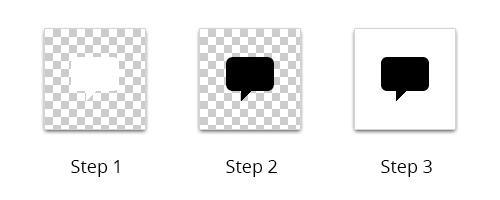
The most pertinent function to color an image using a mask (our icon set) is CGImageCreateWithMask. This function takes a first parameter, the image to cut with the mask (the color), and a second parameter, the mask itself (the icon). Basically, the mask is a greyscale image, in which the white pixels are ignored and the black ones are kept, in alpha channel, according to their black intensity. So, we need to transform our original image to respect this specification.
We will follow two steps : create a negative image from our original image (white pixels need to become black), and add a white background. We choosed to create an UIImage category.
Create a negative image and replace the alpha with a white background
We could easily imagine how to adapt this piece of code to apply a texture, as an image, instead of a plain color.
To optimize the process, it's useful to cache the UIImage object generated (on the file system, or memory), instead of making a call of this function each time the image is displayed.
Five ways lead to a fitness app for your business, and each is priced its own way: a flat plan, an add-on to gym software, per client, per subscriber or quoted. The table below compares what each one costs and the job it is built for.
OpenAI released GPT-6 Sol and GPT-6 Luna on September 22, 2026, after GPT-6 Astra, the flagship of the family, earlier the same month. Luna is the smallest of the three. OpenAI describes it as its most efficient model for focused, high-volume tasks, and sells it at half the price of GPT-5.6 Luna, the model it replaces in OpenAI's own line-up.The next morning, we moved the AI Extension Builder to GPT-6 Luna, for every app, on the four moments where a model is at work: understanding your request, writing the code of the section, rewriting it when you ask for a change, and answering the questions you ask about what it built.
 eCommerce
 Memberships
 RAG Chatbot
 Online Courses
 Bookings
 Travel guide
 Events
 Content Creators
 Pickup & Delivery
 Newspaper
 Radio
Radio Schools
 Faith
Faith Organizations
 Restaurant
 Grocery
 Custom apps
 Employee Communication
 NO CODE APP BUILDER
 TECHNOLOGY
 WHY GOODBARBER?
 Design
 PRODUCT RESOURCES
 TOPICS
 MOBILE APPS RESELLERS
 DISCOVER