GoodBarber's Online Help
Add category / filter to your sections
You can add categories to your CMS article or Map sections to organize your content in different categories within your sections or filter your external content when using an external source (WordPress ).
CMS sections
Add a category:
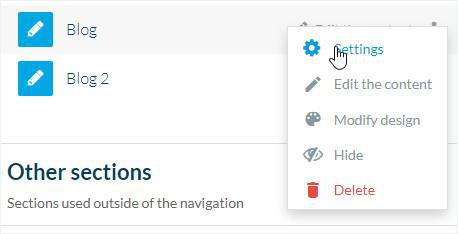
1. In the left swipe menu go to Content & Design > Content > Sections
2. Click the 3 dots next to your blog section in the list of the right column
3. Click "Settings"
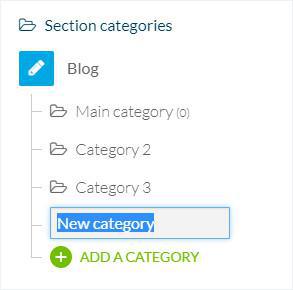
4. Click "Add a Category" in the right column of your back office
5. Fill in the name of the category
Order your items:
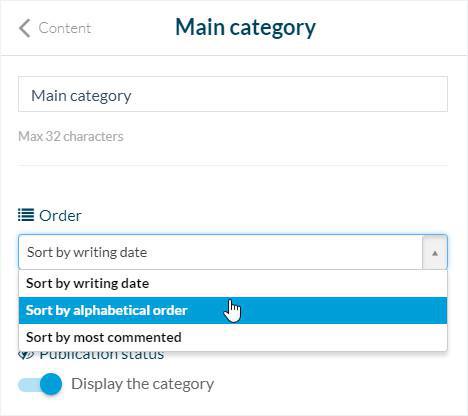
1. From the settings page of your section, click the category you wish to set the order for:
2. Select from the drop down menu how to order your items:
- For the main category (settings of the main section): by writing date, by alphabetical order, by most commented.
- For the other categories (settings of each category): by writing date, by position (you can rearrange the content manually), by alphabetical order, by most commented.
Category's display:
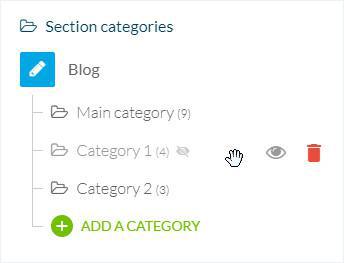
1. From the settings page of your section, click the eye icon to publish or unpublish your categories.
External source section
1. In the left swipe menu go to Content & Design > Content > Sections
2. Click the 3 dots next to your section in the list of the right column
3. Click "Settings"
4. Click "Add a Filter"in the right column of your back office
5. Name your filter (max 32 characters)
6. In the drop down menu, select which category of your source content you wish to display with this filter
7. Click "Save" at the bottom of the page
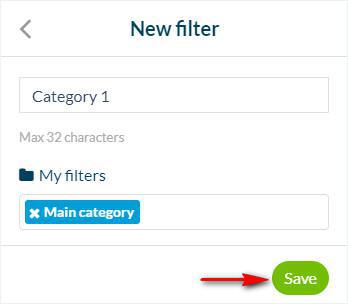
Filters and categories General behavior
1. One filter / Category
Adding one filter will create a menu with the content of this category only: the content of the list will include only content that falls into this precise category.
2. More than one filter / Category
If you add more than one filter, the menu will be filtered with all of these categories.
3. Several pages filtered by categories
To create direct access to your content filters, you must create only sections.
To do so, add as many sections as needed, and create only one filter (the filter of your source content category, you wish to display on your app section).
Design of your Categories
1. In the left swipe menu, go to the menu Content & Design > Design > Sections Design to set the design of your categories and filters.
2. Click your section in the right column of your back office
3. Click "Categories"
There is 3 different presentation modes to access your categories:
- Dropdown (adds a drop down list just below the Navigation Bar displaying the page filters if you click on it)
- Circle Band (adds a scrollable band just below the Navigation Bar containing the page filters)
- Pager (adds a "page" icon in the Navigation bar. One page filter = one page. You need to select another page to see another filter).
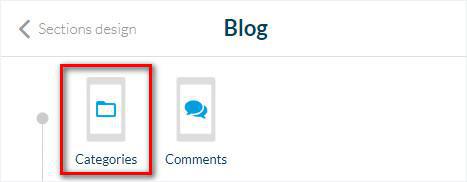
 Design